Learn how to set up WordPress locally with this step-by-step guide. Discover how to install Local by Flywheel, create your first WordPress site, and configure essential settings. Perfect for beginners looking to develop and test their WordPress site offline before going live.
Table of Contents
- Introduction to WordPress and Its Benefits
- Setting Up Local WordPress Environment
- Creating Your First WordPress Site
- Setting Up WordPress and Debugging Features
- Navigating the WordPress Dashboard
- Customizing Settings and Options
- Blog Page Settings
- Media Settings
- Privacy Policy Configuration
- Customizing Screen Options
Watch the tutorial on CodeYourPath's YouTube Channel!Introduction to WordPress and Its Benefits
WordPress is a highly versatile content management system (CMS) that powers over 40% of all websites on the internet. It’s renowned for its flexibility and ease of use, making it an excellent choice for a wide range of websites—from personal blogs to complex e-commerce platforms.

One of the key advantages of WordPress is its user-friendly interface. The dashboard is intuitive, allowing even beginners to navigate easily and manage their websites with minimal effort. You’ll find it simple to create and publish content, upload media, and adjust various settings.
Additionally, WordPress is optimized for search engines. It generates SEO-friendly URLs and offers features to enhance your site’s visibility on search engines. With a robust community providing extensive resources like forums, blogs, and tutorials, help is always available. Plus, WordPress is cost-effective: it’s open-source and many themes and plugins are available for free or at a low cost.
In summary, WordPress offers unparalleled flexibility and customization options, making it possible to build virtually any type of website.
Setting Up Local WordPress Environment
Now, let’s dive into setting up a local WordPress environment. This setup allows you to develop and test your website on your own computer before making it live.
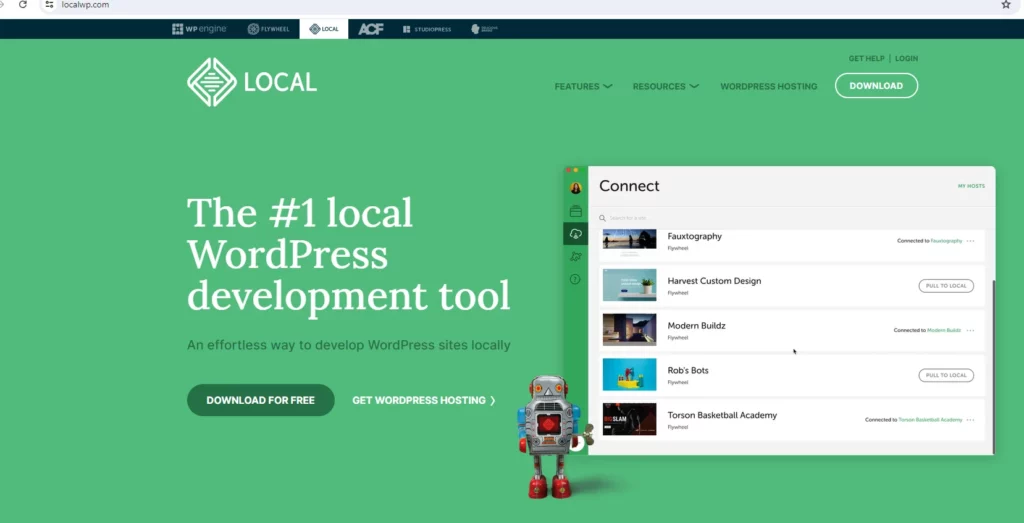
- Download Local by Flywheel: First, visit the Local by Flywheel website and download the version that matches your operating system. This software will create a local server environment for running WordPress.
- Install the Software: Open the installer and follow the prompts to install Local by Flywheel. You can choose the default installation folder or specify a different one if you prefer. Ensure that you grant any necessary permissions for the software to run on your device.
- Launch Local by Flywheel: Once installed, open Local by Flywheel. You may need to allow the app to make changes to your system settings to function correctly.
- Create a New Site: Click on the “+” button to add a new site. Enter a name for your site, such as “Programmers Recipe,” and choose a domain name like “programmersrecipe.local.” Select your preferred environment settings or use the default options provided.
- Set Up Admin Credentials: During the setup process, you’ll need to create a username and password for your WordPress admin account. Make sure to keep these details safe, as you’ll need them to log into your WordPress dashboard later.
- Complete the Installation: Click “Add Site” and wait for the installation to finish. Once it’s done, you can click “Open Site” to view your new WordPress site.
Creating Your First WordPress Site
With Local by Flywheel up and running, you’re ready to create your first WordPress site. Here’s how to get started:

- Access Your Site: Open Local by Flywheel and select the site you just created. Click “Admin” to go to the WordPress admin dashboard.
- Log In: Use the username and password you set earlier to log in to the WordPress admin area.
Setting Up WordPress and Debugging Features
As you set up WordPress, you may want to enable debugging features to help identify and fix any issues:
- Enable Debugging: Go to Local by Flywheel’s settings and activate the “Enable Debug Mode” option. This will help you spot errors more easily.
- Use the Live Link Feature: Create and verify a Local account via email to access the Live Link feature. This tool lets you see real-time changes to your site as you make them.
Navigating the WordPress Dashboard
The WordPress dashboard is your main control panel. Here’s a quick overview of what you’ll find:
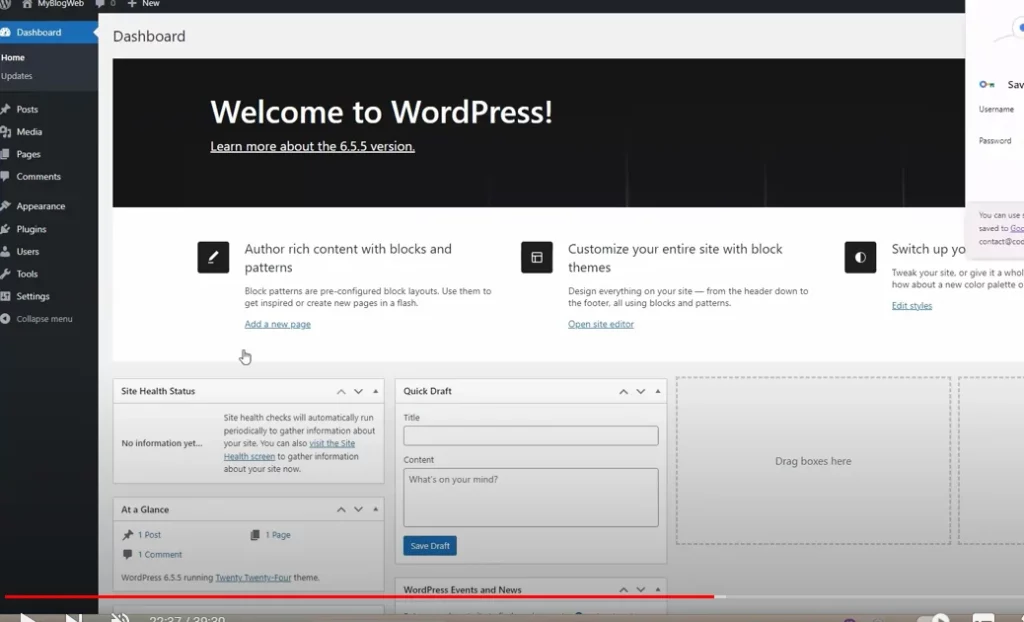
- Dashboard Overview: From here, you can access posts, the media library, comments, and various settings. The default theme includes a “Hello World” post, which lets you preview how your content looks.
Customizing Settings and Options
To get your site ready for visitors, you’ll need to customize some basic settings:
- Site Customization: Set your site’s name, tagline, and icon (recommended size: 512 x 512 pixels). Adjust the homepage display and time zone settings to match your needs.
Blog Page Settings
Configure how your blog page will look:
- Blog Display: Choose how many posts to show on your blog page and whether to display full posts or excerpts.
Media Settings
Adjust your media settings to manage how images and URLs are handled:
- Image Sizes: Default settings are usually sufficient, but you can adjust image sizes if needed.
- Permalink Structure: Customize the format of your post URLs, using options like date or numeric formats.
Privacy Policy Configuration
WordPress includes a default privacy policy page. You can either modify this page or create a new one to meet your site’s needs.
Customizing Screen Options
Manage what you see on your screen with the “Screen Options” feature. You can show or hide elements based on your preferences.
By following these steps, you’ll have a fully functional local WordPress environment, ready for further development and customization. Stay tuned for the next parts of the tutorial series to learn more about building and optimizing your WordPress site!